Craft Your Own Unrefined Cold-Pressed Coconut Oil at Home Easily
Imagine a kitchen filled with the delicate, sweet aroma of fresh coconut, knowing that the golden, luscious oil you're about to enjoy was made by your own hands. Making your own unrefined
DIY Cold-Pressed Virgin Coconut Oil: Simple, Cost-Effective & Pure is not just a rewarding culinary project; it's a journey into purity, cost-efficiency, and unparalleled freshness. Forget the expensive, often misleadingly labeled store-bought options; the true essence of coconut oil, rich in flavor and nutrients, is surprisingly simple to unlock right in your kitchen. This comprehensive guide will walk you through the heat-free process, ensuring you can confidently craft your very own high-quality
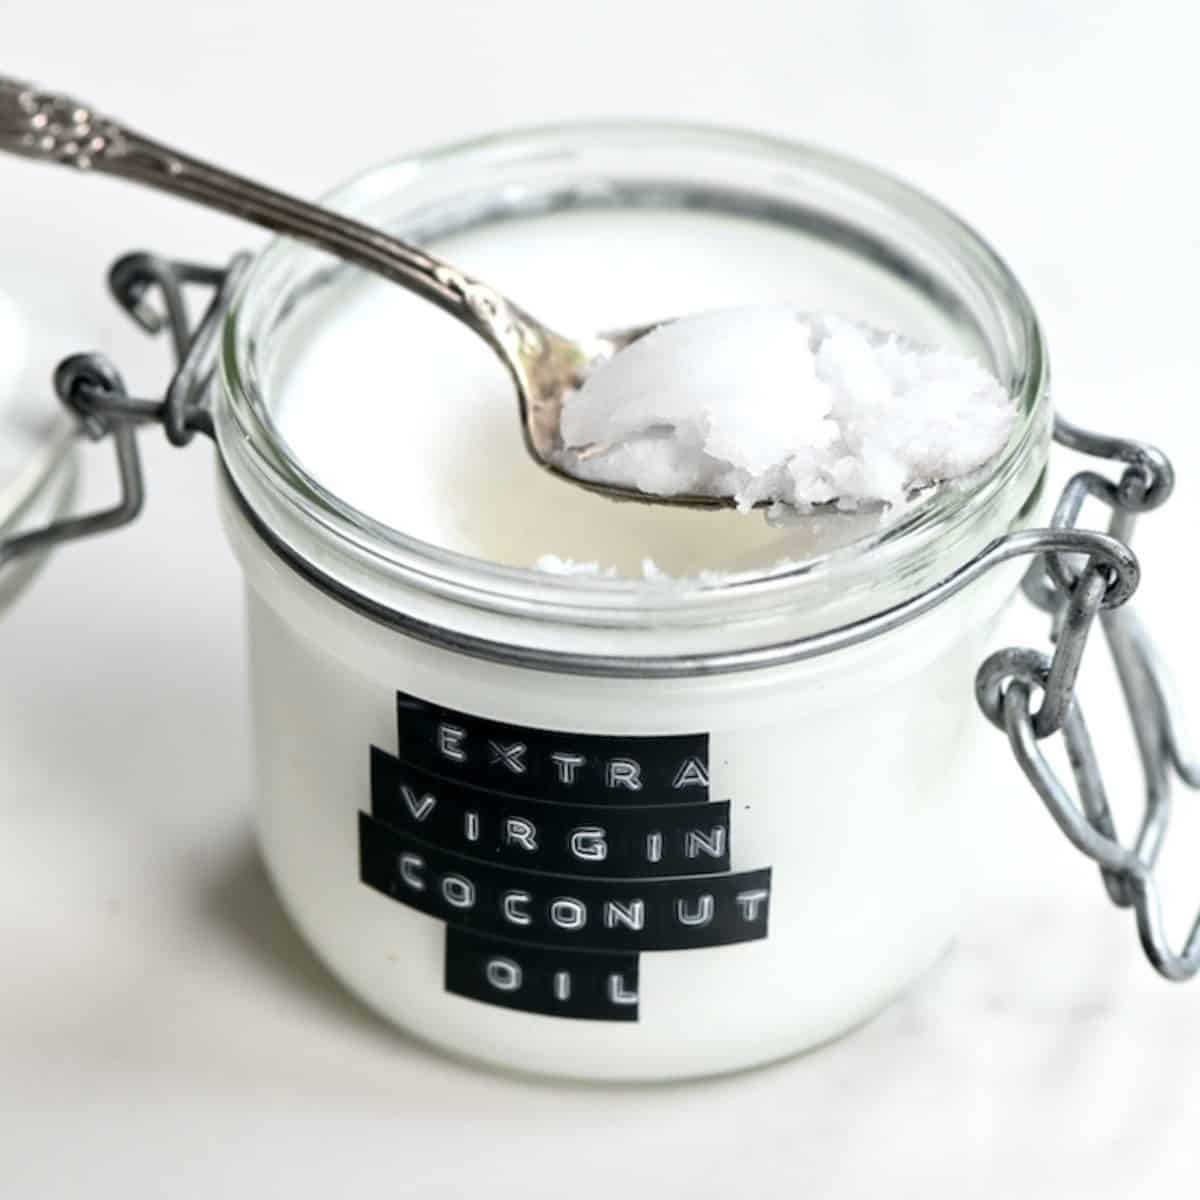
Extra Virgin Coconut Oil: The Truth Behind The Label & Homemade Quality.
Understanding Coconut Oil: Unraveling the Labels
Before we dive into the exciting process of crafting your own, let’s demystify some of the terms you often encounter on coconut oil labels. Understanding these distinctions will highlight why making your own
unrefined cold-pressed coconut oil is the superior choice.
Virgin vs. Extra Virgin Coconut Oil: A Marketing Myth?
Unlike olive oil, where "virgin" and "extra virgin" denote distinct processing methods and quality grades, the distinction for coconut oil is largely a marketing construct. In the world of coconut oil, "extra virgin" doesn't necessarily imply a different, more stringent production process than "virgin." Both terms generally refer to
unrefined coconut oil derived from fresh coconut meat. However, the less heat applied during extraction, the higher the quality is often perceived. Our heat-free method certainly leans into this philosophy, aiming for the purest form possible. Coconut oil typically only begins to degrade at temperatures above 50ºC (122ºF), meaning any extraction below this threshold can technically be labeled "cold-pressed."
Refined vs. Unrefined (Virgin/Cold-Pressed) Coconut Oil
The true distinction that matters for your health and taste buds lies between refined and unrefined coconut oil:
*
Unrefined Coconut Oil (Virgin/Cold-Pressed):
* Made from fresh, mature coconut meat (not dried 'copra').
* No chemicals, bleaching, or deodorizing agents are used.
* Often extracted using low-heat or no-heat (cold-pressed) methods.
* Retains its distinct coconut aroma and flavor.
* Crucially, its natural antioxidant properties and nutritional value are maintained.
* This is the pure, natural product we aim to create at home.
*
Refined Coconut Oil:
* Often made from dried copra, which can be less hygienic.
* Undergoes extensive processing, including bleaching, deodorizing, and sometimes chemical solvents.
* Typically uses high-heat extraction.
* Has a neutral flavor and aroma, making it suitable for high-heat cooking where coconut flavor isn't desired.
* Much of its original nutritional integrity, including antioxidants, is lost during the refining process.
The bottom line is clear: when you're looking for the maximum health benefits and authentic flavor,
diy extra virgin coconut oil or virgin cold-pressed coconut oil is your goal, and homemade is often the best way to achieve it.
Why Go DIY? The Benefits of Homemade Unrefined Coconut Oil
Embracing the DIY approach to making your own
cold pressed coconut oil offers a multitude of compelling advantages that transcend mere cost savings.
*
Unrivaled Purity & Control: When you make your own, you control every ingredient and step. There are no hidden additives, preservatives, or questionable processing methods. It's simply pure coconut.
*
Exceptional Freshness & Flavor: The aroma and taste of freshly made coconut oil are vibrant and distinct, unlike anything from a bottle that has sat on a shelf for months. You'll experience the full, natural essence of the coconut.
*
Cost-Effectiveness: Premium unrefined virgin coconut oil can be quite expensive. Making it at home, especially when you buy coconuts in bulk, is significantly more economical, offering a high-quality product at a fraction of the retail price.
*
Preserved Nutritional Value: Our heat-free method ensures that the delicate beneficial compounds, antioxidants, and healthy fats in the coconut oil remain intact, maximizing its nutritional potency.
*
Environmental Consciousness: By crafting your own, you reduce your reliance on plastic packaging and support a more sustainable, self-sufficient lifestyle.
*
A Rewarding Experience: There's an immense satisfaction in producing something so pure and beneficial from scratch. It connects you more deeply to your food and health.
The Simple Steps to Crafting Your Own Cold-Pressed Coconut Oil
The process of making
homemade cold-pressed coconut oil is surprisingly straightforward, relying on the natural process of fermentation. Patience is key, but the effort is minimal for such a high-quality yield.
Step 1: Preparing Your Coconut Cream
The foundation of your coconut oil is high-quality coconut cream. Start with fresh, mature coconuts if possible. Look for coconuts that feel heavy for their size, have no cracks, and slosh with plenty of water when shaken. If fresh coconuts are daunting, high-quality frozen grated coconut meat is a convenient alternative.
1.
Crack and Grate: Carefully crack open your coconuts, drain the water, and scoop out the white meat. Grate the meat using a manual grater or a food processor.
2.
Extract Coconut Milk/Cream:
*
Food Processor Method (Accessible & Effective): Combine the grated coconut meat with a small amount of warm (not hot!) water. Blend until the mixture is thick and creamy. The ratio can vary, but generally, for every 2 cups of grated coconut, start with about 1 cup of water. Blend thoroughly.
*
Juicer Method (Faster & Higher Yield): If you have a good quality juicer, feed the grated coconut meat through it. This method often yields a richer, thicker cream and can be faster.
3.
Strain for Cream: Pour the blended or juiced mixture into a cheesecloth-lined sieve over a large bowl. Squeeze firmly to extract all the rich, milky coconut cream. This is your base. Repeat the process with the squeezed pulp, adding a bit more water, to extract a second, lighter milk if desired for other uses, but the first press is for your premium oil.
Step 2: Ferment the Coconut Cream to Produce Oil
This is where the magic of separation happens, thanks to natural fermentation.
1.
Container Selection: Pour your freshly extracted coconut cream into a clean, wide-mouthed glass jar or a designated food-grade container. The wider the surface area, the better for separation.
2.
The Fermentation Process: Cover the container loosely with a cloth or lid (don't seal tightly, as gases will be released). Place it in a warm, stable spot in your kitchen, away from direct sunlight. A consistent room temperature (around 25-30°C or 77-86°F) is ideal for optimal fermentation.
3.
Watch for Separation: Over the next 12-48 hours, you'll observe a fascinating transformation. The cream will begin to separate into three distinct layers:
* A thick, clear oil layer will form on top.
* A solid, curd-like layer (protein solids) will settle in the middle.
* A watery layer will remain at the bottom.
The fermentation process, driven by natural bacteria, breaks down the proteins and carbohydrates in the coconut milk, allowing the oil to separate. You might notice a slightly tangy, pleasant aroma as it ferments.
Step 3: Separating the Golden Elixir
Once the layers are clearly defined, it's time to harvest your precious oil.
1.
Careful Scooping/Decanting: Gently scoop out the top layer of clear coconut oil using a spoon. Be patient and careful not to disturb the middle curd layer too much.
2.
Further Separation (Optional): If there's still a significant amount of curd mixed with the oil, you can refrigerate the oil you've collected. The remaining curd will solidify, making it easier to separate from the pure oil.
3.
Filtering (Optional): For extra clarity and to remove any tiny particles, you can gently strain the collected oil through a fine-mesh sieve lined with cheesecloth.
Step 4: Storage
Your fresh, pure
diy extra virgin coconut oil is now ready! Store it in a clean, airtight glass jar in a cool, dark place. At room temperature, it will remain liquid in warmer climates and solidify in cooler ones. Properly stored, homemade coconut oil can last for several months.
Tips for Success and Troubleshooting
*
Coconut Quality: Always start with the freshest, ripest coconuts you can find. This greatly impacts the yield and quality of your oil.
*
Hygiene: Ensure all your equipment – bowls, containers, hands – are scrupulously clean to prevent undesirable bacterial growth during fermentation.
*
Temperature Control: A stable, warm environment is crucial for effective fermentation. If your kitchen is cold, consider placing your container in a slightly warmer spot or even using a dehydrator on its lowest setting (below 50ºC) to provide gentle warmth.
*
Don't Rush It: Patience is a virtue here. Let the fermentation happen naturally. Trying to speed it up with excessive heat can compromise the "cold-pressed" quality.
*
Don't Discard the Byproducts: The coconut curd (the solid middle layer) can often be used in baking or savory dishes for a rich coconut flavor, and the bottom watery layer can be used in smoothies or as a flavorful base for cooking.
Uses for Your Homemade Unrefined Coconut Oil
Now that you've successfully crafted your own liquid gold, the possibilities are endless!
*
Culinary Delights:
* Use it for light sautéing (its smoke point is lower than refined oil, around 177°C or 350°F).
* Add a teaspoon to smoothies, coffee, or tea for a creamy texture and energy boost.
* Incorporate it into baking recipes for a delicate coconut flavor.
* Spread it on toast or use it in homemade granola.
*
Beauty & Personal Care:
* An excellent natural moisturizer for skin and body.
* Deep conditioning hair mask to nourish and add shine.
* Gentle and effective makeup remover.
* Oil pulling for oral health.
* Natural lip balm.
Conclusion
Crafting your own
unrefined cold-pressed coconut oil at home is more than just a kitchen experiment; it's an empowering step towards healthier living, greater self-sufficiency, and a deeper appreciation for natural products. The process is simple, the cost savings significant, and the resulting product is a testament to purity and quality unmatched by many commercial alternatives. So, gather your coconuts, embrace the journey, and enjoy the rich, aromatic rewards of your very own homemade
DIY Cold-Pressed Virgin Coconut Oil: Simple, Cost-Effective & Pure. You'll not only savor its natural goodness but also revel in the satisfaction of creating a truly remarkable product from scratch.